Last Updated on November 27, 2023
The sets of mortar and pestle are universal tools you can find in almost any culture. Thai cuisine, for instance, puts the set of mortar and pestle, or khrok (ครก) and sak (สาก) as they’re called, on a pedestal. This tool is essential for many Thai-specific recipes, such as green papaya salad (som tam) or the numerous variations of curry and chili pastes.
Thai kitchen makes use of two main types of mortar and pestle: a heavy, solid stone mortar and pestle and a baked-clay mortar with a hardwood pestle. In this article, we’ll take a look at the advantages and disadvantages of both.
By the time you finish reading this article, you’ll understand why the sets of mortar and pestle are still being sworn by and the difference the properties of these materials make in your food. Let’s get in there!
What’s The Point of Mortar and Pestle
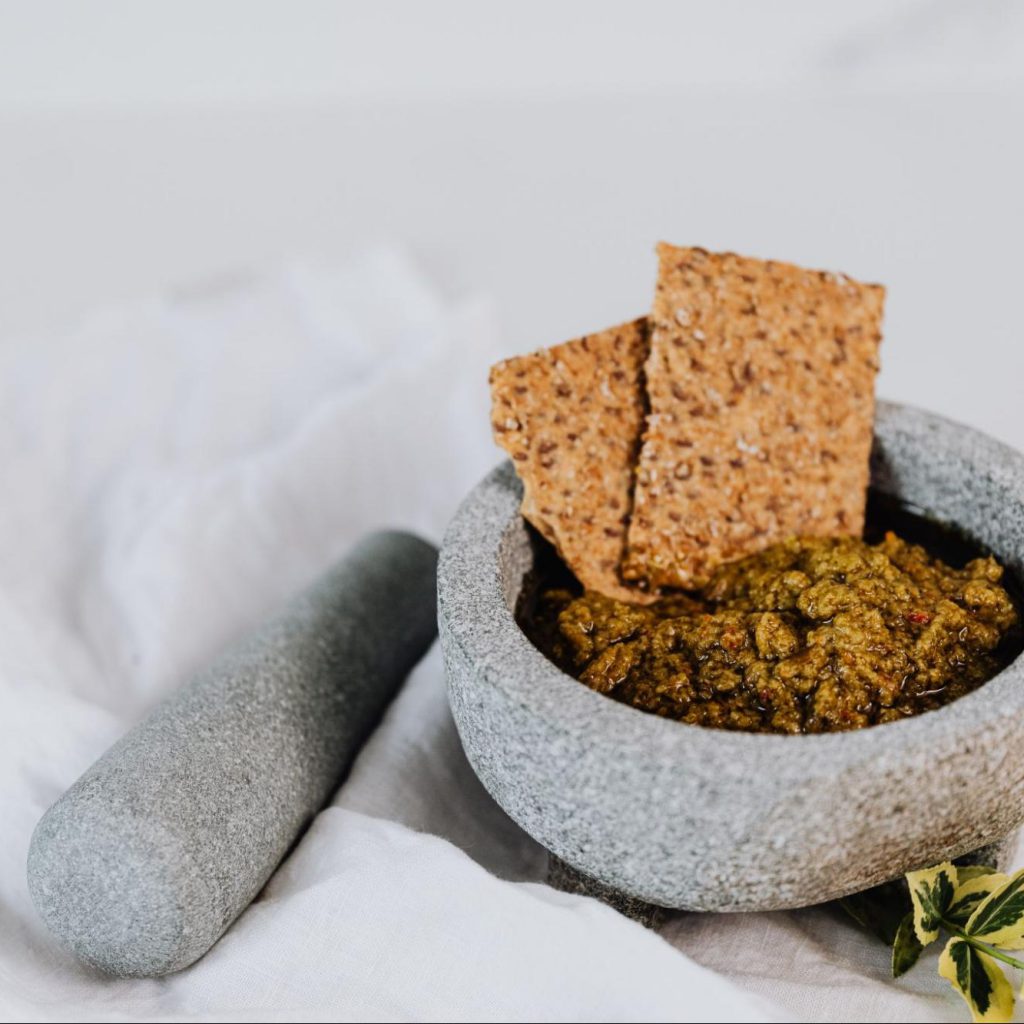
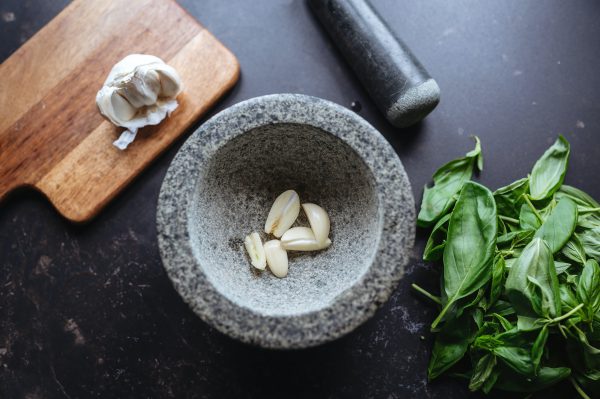
If you could zoom in on where the pestle hits the mortar while pounding some delicious pesto or a Thai curry paste, you would see the cell walls bursting open, letting out the natural oils trapped inside.
It’s fun to imagine a slow-motion symphony of aromas gushing out of the veggies, herbs, and spices, but unfortunately, you can’t observe this action with the naked eye. The next best thing you can do is to taste it.
If you’ve ever had any paste or sauce made with a Thai mortar and pestle, you probably share our enthusiasm. Nothing beats this kitchen utensil for revealing all the aroma hidden in your ingredients. The aromatic oils enhance the overall flavor and somehow bring out the secondary flavors even more.
Still skeptical? Just try it yourself. Make a batch of aioli with a mortar and pestle and another one with a food processor. You’ll notice the difference right away.
Granite vs. Terracotta Mortar and Pestle
Okay, so a set of mortar and pestle is a worthy piece of kitchen equipment that makes you sweat a little but pays off in delicious meals. But which one is the best for you? It depends on your cooking habits and the ingredients you frequently use.
For example, Mexican chefs use molcajetes, Japanese are fond of their suribachi and surikogi duo, and Thai cooks can’t do without their granite and clay mortar and pestle sets. All these pairs have their own unique advantages and disadvantages.
Today, we’re going to dive into the world of Thai cuisine and take a closer look at two essential kitchen tools: the granite mortar and pestle and the terracotta mortar with its trusty wooden pestle.
Granite Mortar and Pestle
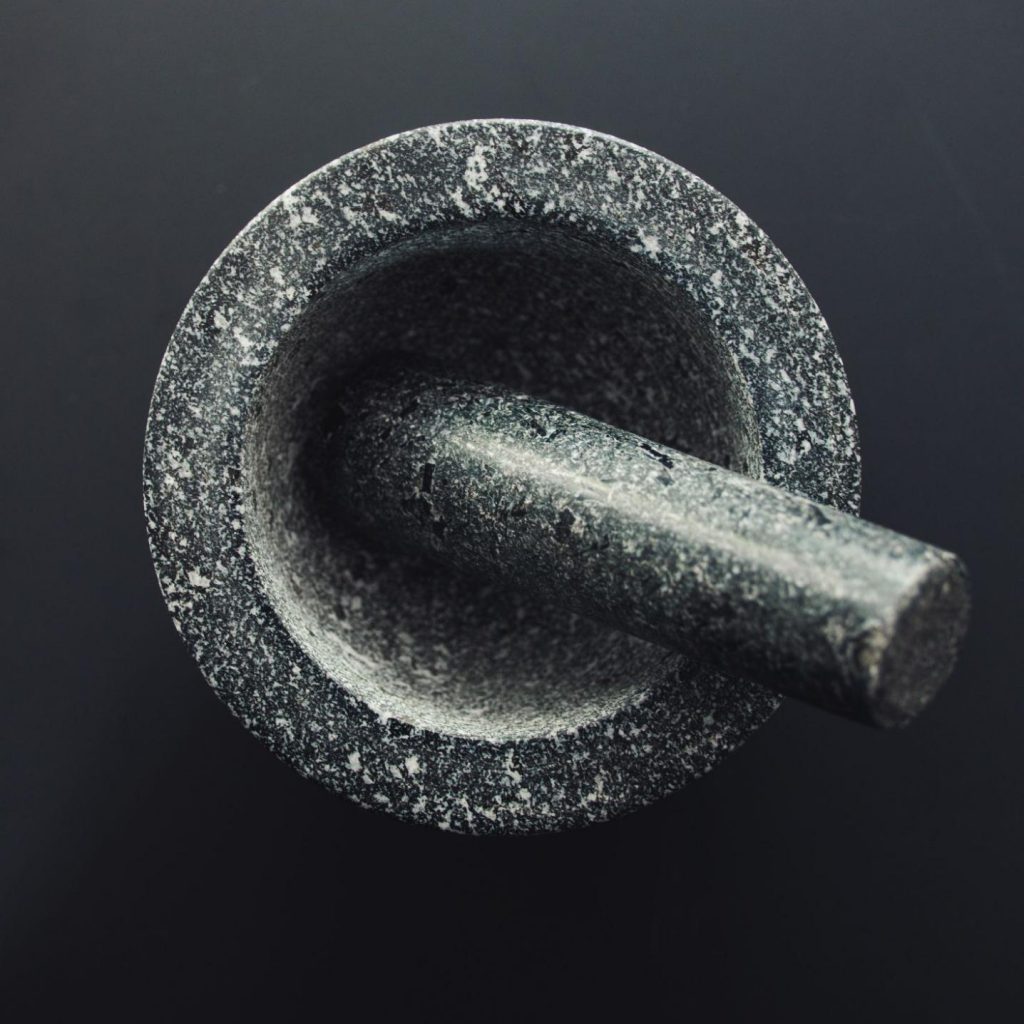
Granite is a hard igneous rock formed from magma, and its content is primarily coarse-grained quartz with some other minerals — the ratio of which determines the stone’s quality. As a rule of thumb, more quarts equals a stronger rock. And because it’s literally rock solid, more than most other rocks, people have been using granite in construction and tool-making for a very long time.
Thanks to the properties of the natural rock, a Thai granite mortar and its granite pestle make up a great tool for grinding and smashing just about anything into a delicious paste packed with flavor. And that’s the reason celebrity chefs like Jamie Oliver can’t stop talking about it.
Still, the granite one isn’t one mortar to rule them all, as there’s no such mortar. Here are some pros and cons of a granite mortar and pestle.
Pros
- Sturdiness: If you’re looking for a sturdy mortar and pestle that can withstand heavy-duty grinding, then granite is an excellent choice. It can handle vigorous pounding, allowing you to grind and smash ingredients with ease, thus making the process of making curry pastes, grinding spices, and mixing ingredients much easier.
- Homogeneous Mixtures: Thanks to the hefty nature of the set, you can easily grind and crush even the hardest ingredients and reduce fibrous herbs into a mushy paste.
Creating a homogeneous mixture is essential in certain Thai recipes, such as the authentic Thai green curry paste. While you technically can achieve this with different mortar and pestle sets, reducing fibrous herbs isn’t that easy, and a heavy-duty granite set gets you there more quickly.
- Size: The most classic Thai granite mortar and pestle comes in about 3 cups capacity. These bowls are quite enough for preparing bigger batches of condiments, nut butter, and pastes, which can come in handy when you’re feeding a crowd or want to meal prep for the week ahead. You can also get an extra large granite mortar.
The spacious bowl also makes maneuvering the pestle around the ingredients easier, ensuring that every last bit is crushed and perfectly blended.
- Heavy and Solid: When it comes to a heavy-duty grinding job, chefs prefer a heavy and solid granite mortar and pestle. Don’t believe in us? Ask Jamie Oliver.
A traditional Thai granite mortar and pestle set, such as the KROK, ensures you pound without the risk of cracking the mortar in half. A heavy mortar is also safe from tipping over and slipping, and the heavy pestle and gravity assist you when you’re grinding hard stuff.
Cons
- Heavy: The features that make a hefty granite mortar and pestle set desirable will depend on what you want to do with it. If you’re not on a mission to the mushiest curry paste, a granite mortar and pestle can be quite heavy and may be difficult to move or clean — especially for people with limited mobility or strength.
- Cost: Granite is a relatively expensive material, so a granite mortar and pestle may cost more than other types of mortar and pestles. This is likely to pay off in years to come, as granite is practically a lifetime investment, however, it’ll show on your bill in the short term.
- Porous Surface: Granite is a porous material, which means it can absorb liquids and odors, so it’s not the best choice for grinding strong-smelling ingredients such as fish, especially if you’re not prepared for another curing and seasoning session.
Terracotta Mortar With a Hardwood Pestle
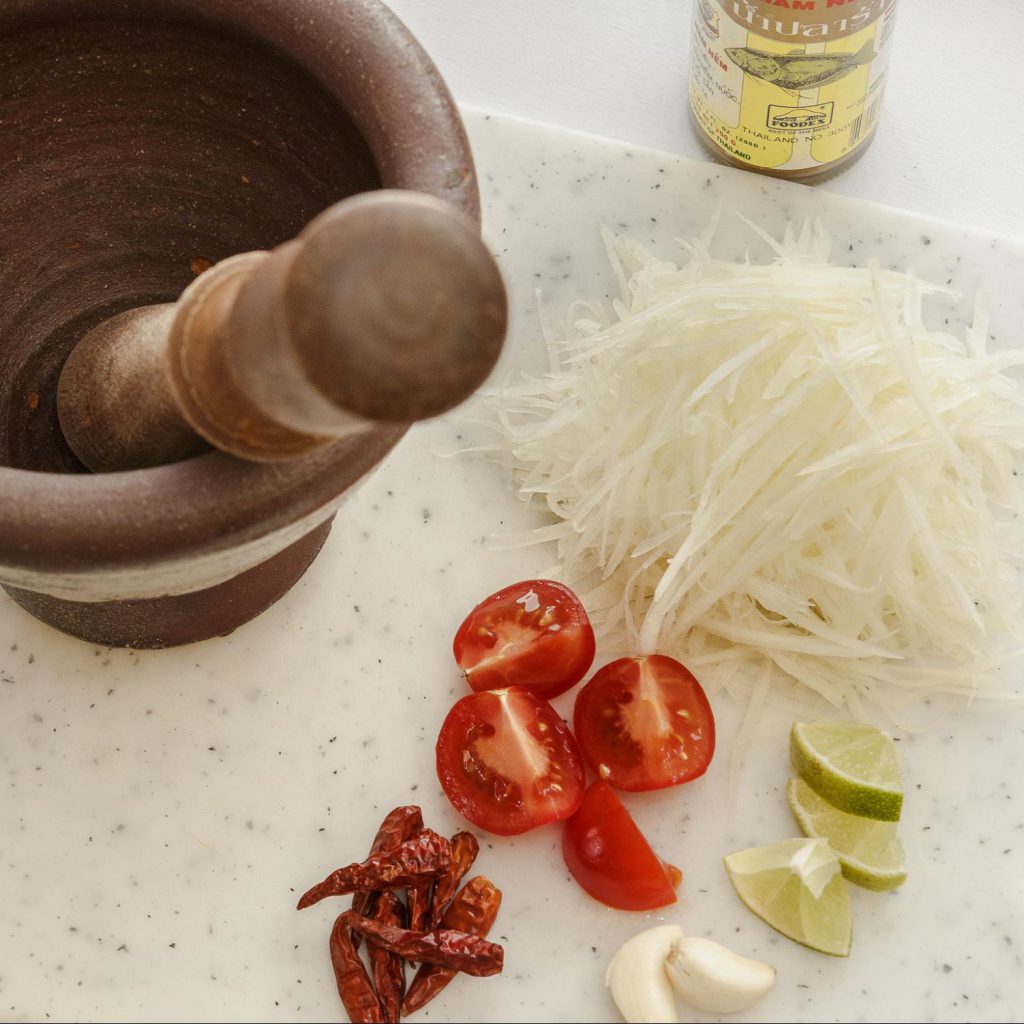
By “Bert” Brady
Terracotta is a type of earthenware. It’s a hard and durable ceramic material made from clay by firing clay in a kiln at high temperatures — the name comes from the Italian words for “baked earth.”
The fact that it’s widely available and shapeable makes clay perfect for pottery, sculpture, and building materials. And to make a good mortar and pestle.
A terracotta mortar can be glazed, half-glazed, or unglazed. Ceramic is the name for fully glazed clay pots and kitchenware. Thai terracotta mortars, also known as Laos-style mortars, are typically fully unglazed.
The terracotta mortar and a wooden pestle has been a part of Thai cooking as an alternative to a granite pair. But they aren’t quite the same thing. Here are some pros and cons of using a terracotta mortar and pestle:
Pros
- Affordable: Terracotta mortar and pestles are more budget-friendly compared to granite ones. If you think a practical set will serve you and shine on your countertop with its deep, earthy hues, get your own set by all means.
- Lightweight: A terracotta mortar is much lighter than a granite one, making it easier to handle and maneuver. Not to mention that a lightweight pestle will also mean less strain on your arms and wrists unless you’re grinding hard-to-break ingredients. This can be a relief for those who use it frequently for lighter-duty tasks.
The lighter weight means you can handle it more easily and reach all of the nooks and crannies without putting in too much effort. This ease of cleaning can help keep your mortar in top condition for longer.
- Best For Bruising and Mixing: If you want to bruise and lightly mix ingredients, then a terracotta mortar is a good option as it’s gentler on delicate components. This way, you don’t suddenly make a mushy paste when mixing a delicate recipe like a papaya salad or nam prik chili paste. If you’re after some chunks in your recipe, a clay mortar and pestle may be the way to go.
- Ideal for Lighter Duty Jobs: A clay mortar and wood pestle set is perfect for lighter-duty kitchen jobs like crushing garlic or mixing up chili oil. Thai cuisine is rich with its curry pastes, some of which are made of softer ingredients and call for a terracotta mortar and pestle. The extra deep cone-shaped bowl makes it ideal for combining liquid ingredients.
This set is also useful for making marinades, spice rubs, and vinaigrette dressings. The pair is also used to put together recipes from worldwide cuisines, such as French tapenades, Mexican salsas, and Italian pestos.
Cons
- Fragility: Clay mortar and pestles aren’t as sturdy as granite ones, so you have to be careful not to pound using too much force. This means you can grind spices, but not the hard ones.
- Texture: Although this pair comes in handy in making curry pastes and salsas, they won’t turn out as smooth as the ones made in granite. So if you have harder ingredients such as asparagus, dried tomatoes, or hard seeds, a granite mortar and pestle is what you need.
- Absorbance: Unglazed clay pots have a distinctive feature called “double air-hole.” This allows the material to soak up aromas and flavors. However, this can be both interesting and tricky as unglazed pots can gradually change the taste of your food by absorbing its flavor over time. This is a property of all natural stone mortars, including granite, basalt, and marble.
- Maintenance: Wooden pestles require a bit more care while storing, as mold can grow on them if they don’t dry properly.
Getting Started With a Mortar and Pestle
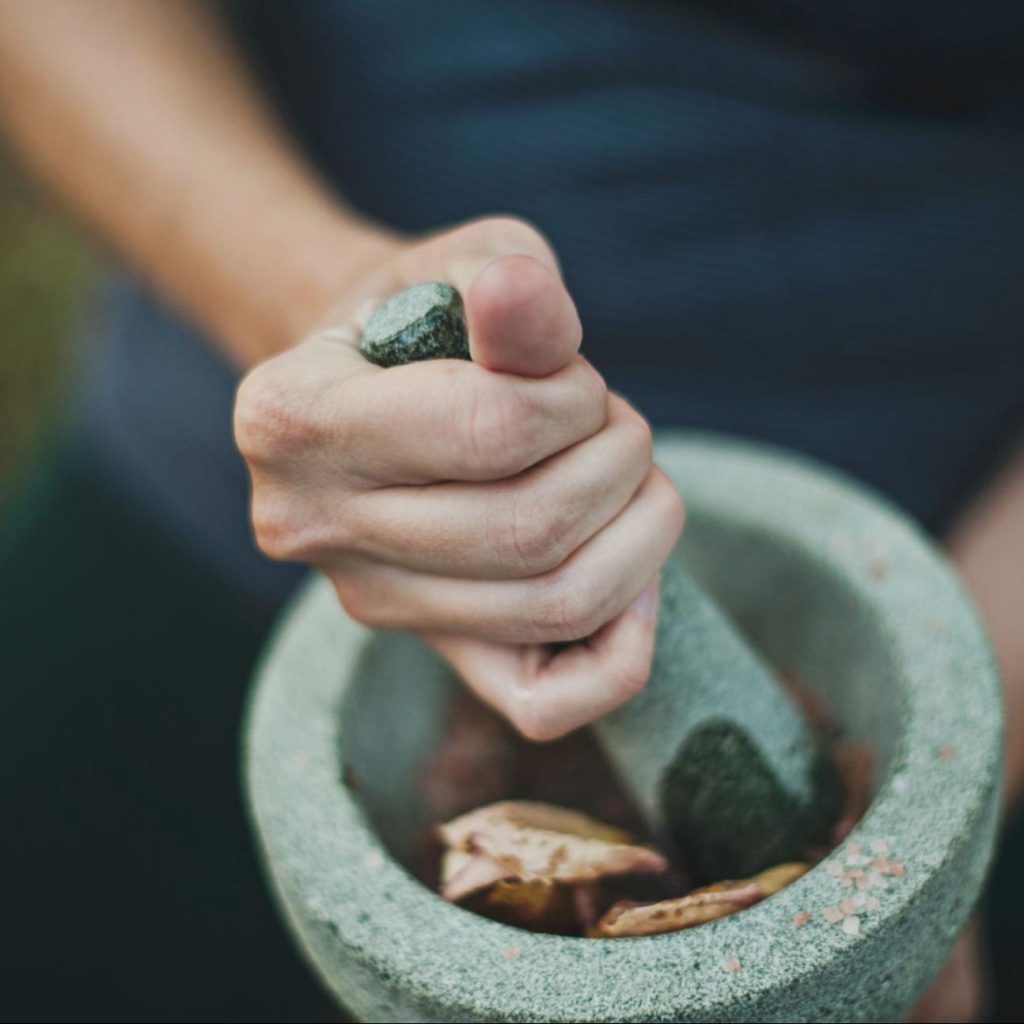
Only a mortar and pestle set allows you to obtain certain textures and flavors while preserving colors, aromas, and freshness. Sure, you can put everything in a food processor and blend just everything in seconds, but the cutting-through action doesn’t yield such delicious results.
The practicality and versatility of this utensil ensure the mortar never disappears from the kitchen despite the growing popularity of electric appliances.
Before You Start
When you buy an unseasoned mortar and pestle made from granite, marble, or volcanic rock like basalt, it may feel gritty. Those grits aren’t the best thing to have, as they may release tiny rock particles into your food.
To avoid grinding these particles in your food or between your teeth, you need to clean and cure the mortar and pestle properly — this doesn’t apply to terracotta, brass, wooden, or stainless steel mortars.
Cure and Season Your Natural Rock Mortar and Pestle
To start seasoning your mortar and pestle, give it a good rinse with water to remove all the nasty dirt and debris trapped in its porous surface. You can use a sink filled with water or simply run it through water multiple times until it’s clean. Remember not to use any soap or soapy water for this step.
Next up, it’s time to use some rice! Add a small handful of white rice and a tablespoon of water to the mortar. Get your arm muscles ready and start grinding the rice in circular motions around the inside surface of the mortar with the pestle.
Keep at it until the rice turns into a gray paste, and you’ll see the dirt and debris coming out. Rinse out the paste with water and use a clean kitchen brush to remove any remaining residue.
Repeat the whole process several times until the rice paste comes out white and there’s no more debris left. Don’t get discouraged if it takes up to five repetitions to achieve this – the result will be worth it.
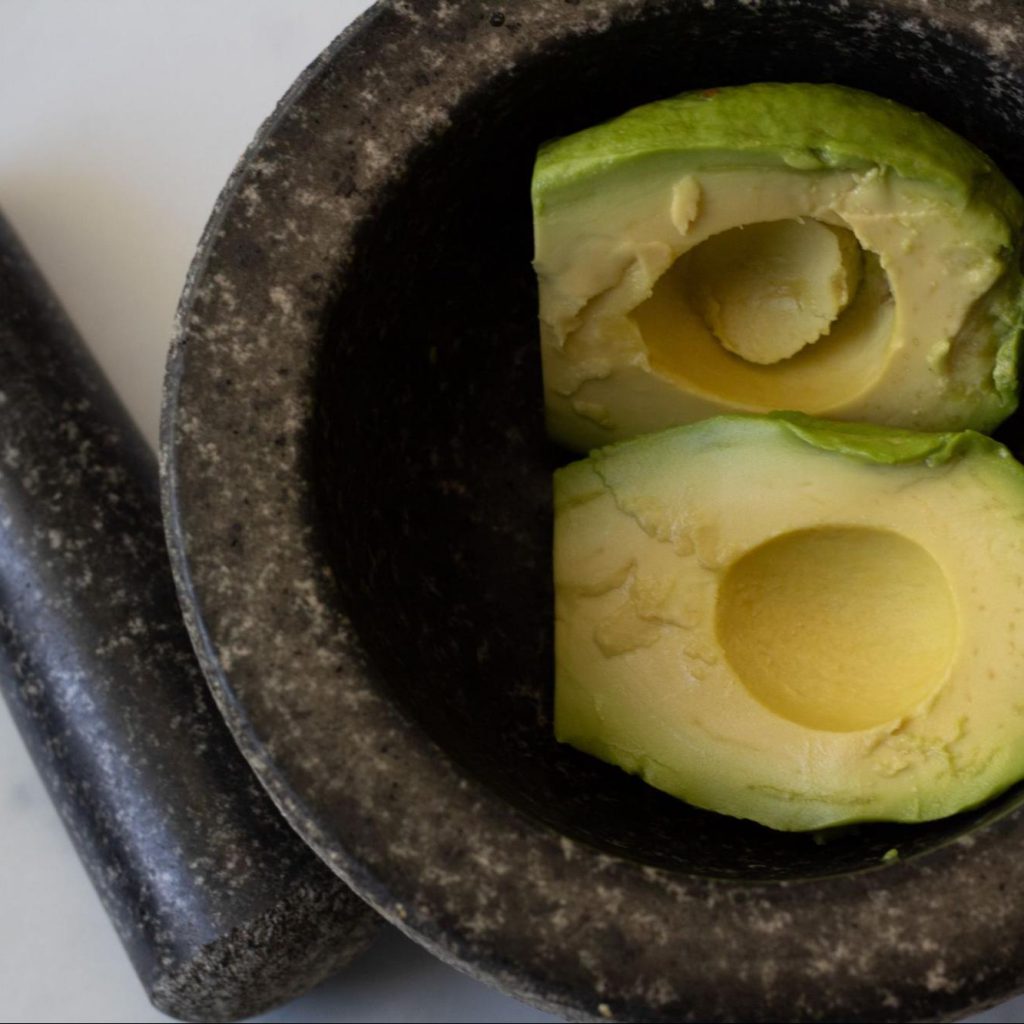
And voila! Your mortar and pestle are now seasoned and ready to be used in all your favorite recipes. Why not celebrate your hard work by making a spicy dish, like a curry paste or guacamole, and enjoy it with an ice-cold drink? You deserve it!
How to Use a Mortar and Pestle

To make the best of a set of mortar and pestle, you should hold the mortar firmly and grind the ingredients with the pestle with repetitive movements of vertical percussion and circular friction. For seeds and spices, applying a more or less strong vertical percussion for seeds and spices will suffice, depending on the fineness you want to obtain.
For wet mixtures like marinades and sauces like Mexican salsas, circular friction is the best to extract all the juices. The longer the friction time, the more infused the mixture will be. The repeated friction will emulsify all the aromas in the mixture. You have to master the right gesture and strength to obtain the texture and taste you desire.
Crush, grind, pulverize, triturate… Depending on the ingredients you throw in the mortar — dry, wet, soft, or hard — the force you apply, and your gesture, you can obtain a multitude of different textures ranging from powder to paste.
Aftercare
When you finish using your mortar and pestle, rinse them with warm water and air dry them after wiping off excess water. You can scrub them with a hard brush if they’re especially dirty. However, using soap is not recommended because the porous texture of the mortars can absorb the scent. This goes for both granite and terracotta sets.
To learn more about taking care of this set of tools, check out How to Season Your Brand New Mortar and Pestle and How to Clean a Mortar and Pestle.
Over and Out!
A set of good mortar and pestle unlocks a variety of recipes and a brand-new way of preparing dishes. If the mortar and pestle remain a well-praised set of utensils among home cooks and chefs even today, that’s because the controlled action of the pestle doesn’t heat up the ingredients and allows all the flavor of herbs, spices, and condiments to remain fresh.


